Description
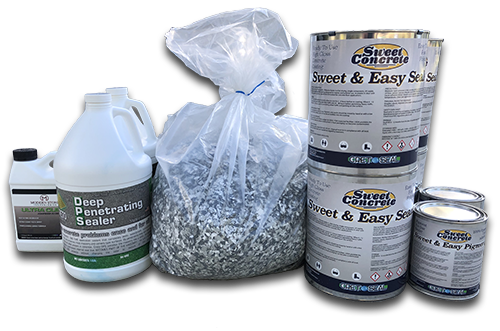
Garage Flake Kit
Save $150 when buying this Garage Flake Kit!
This kit will transform your garage into a place where you’ll enjoy working and spending time in! Having a finished garage floor completely changes the ambiance of the area. You’ll want to spend more time in there and won’t be embarrassed to invite people in. Yay!
For example,this is what I personally use for my clients. You can check out some of my projects here.
You’ll get approximately 400 – 450 sq. ft. per kit and that includes two coats of polyaspartic sealer ( and pigment for the base coat ) and full broadcast flake for extra durability. This is quite a DIY project but I have faith in you! That is to say with the help of my video tutorials you should have enough direction to tackle this project. Plus you can always contact me personally if you have any questions.
Instructions:
- First off, grinding the concrete is highly recommended. This will create “tooth” for the coating to bond to. You can rent a floor machine and diamond embedded pad driver at Home Depot. Usually you can grind the entire 400 – 450 sq. ft. in one day.
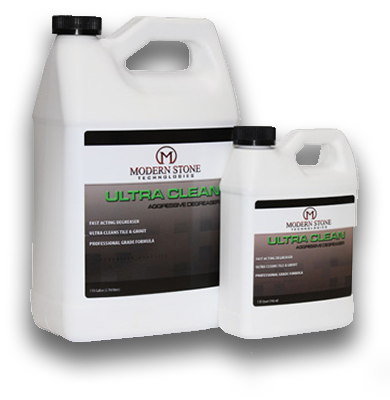
- Secondly, clean the concrete using the Ultra Clean degreaser and a deck brush, scrubbing the concrete well. Dilute as directed. The concrete should then be pressure washed, hosed off, or rinsed with water and shop vacuumed up, or mopped up. All grinding dust must be removed! If you can wipe your finger on the floor and see dust on your finger, you need to clean the floor again.
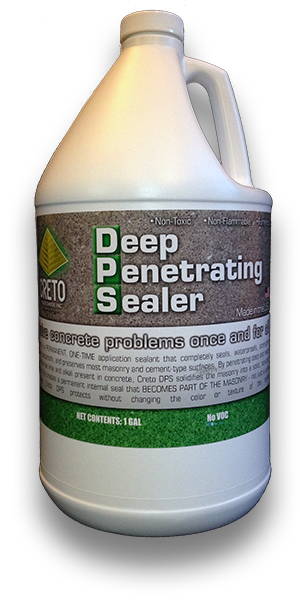
- After cleaning apply Creto DPS with a mop. Keep the areas wet with sealer for 15 – 30 minutes. Remove any left over sealer then immediately rinse the concrete with water. This can be pressure washing, hosing off, or mopping with water and shop vacuumed up, or mopped up. Allow the sealer to cure (@ 50º or above) for 24 – 72 hours depending on the temperature.
After The Creto DPS Has Cured:
- Mask the bottom of the walls or anywhere that the paint roller might touch.
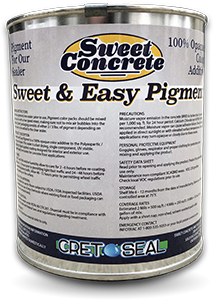
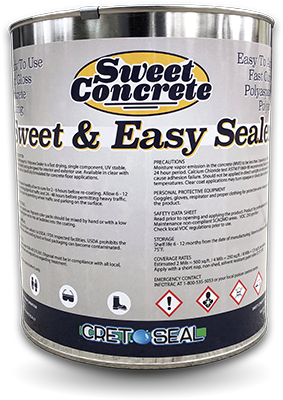
- Mix the three Sweet & Easy pigment packs with three Sweet & Easy sealer in a clean five gallon bucket. A drill set on low or a paint mixing stick should work fine. Make sure the pigment is mixed in well and try not to get air bubbles into the mix by mixing too fast.
- Next apply the Sweet & Easy pigmented sealer at a rate of approximately 130 – 150 sq. ft. per gallon using a short nap shedless paint roller on an extension. Pouring the mix into a paint tray is recommended. Use either a 9″ roller or an 18″ roller for best results. A 3″ roller or paint brush can be used for the edges.
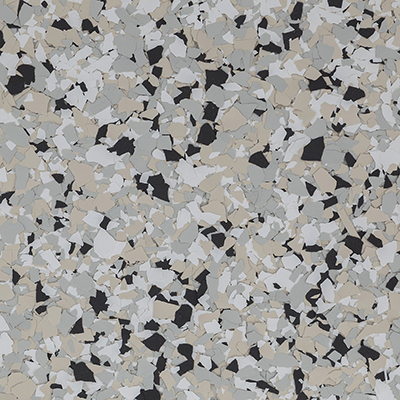
- Work a 100 sq. ft. section and then immediately broadcast the flake into the section by walking over the coating with epoxy cleats. You can also work smaller sections without cleats and broadcast into the smaller section working your way out. Throw the flake high in the air for a more even broadcast. Cover the floor completely with flake for best results. *We recommend doing the full flake (50 lbs) for added durability.
- Two to four hours after the first coat is applied (or when the floor is tackless) then scrape the floor with a 18″ wide floor scrapper. This will bring up any loose flake. The floor should then be vacuumed up thoroughly so there isn’t any loose flake on the floor. You can also blow the flake out of the garage with a leaf blower.
- After the loose flake is cleaned immediately apply the clear coat. The clear coat needs to be applied the same day as the base coat! This is extremely important for proper bonding of coats. Pour the Sweet & Easy sealer into a paint tray and roll on a nice thick layer of coating ( at approximately 130 – 150 sq. ft. per gallon). Make sure to not miss any spots and gently back roll the coating for a beautiful consistent sheen. The coating can have light foot traffic the following day and full cure and automotive traffic will require 72 hours or so depending on the temperature.
- Kick back and enjoy your new man cave!
Video Tutorials For The Garage Flake Kit
Watch this video on how to apply our Sweet & Easy flake system to your garage floor. There are more videos on our VIDEO page.


