
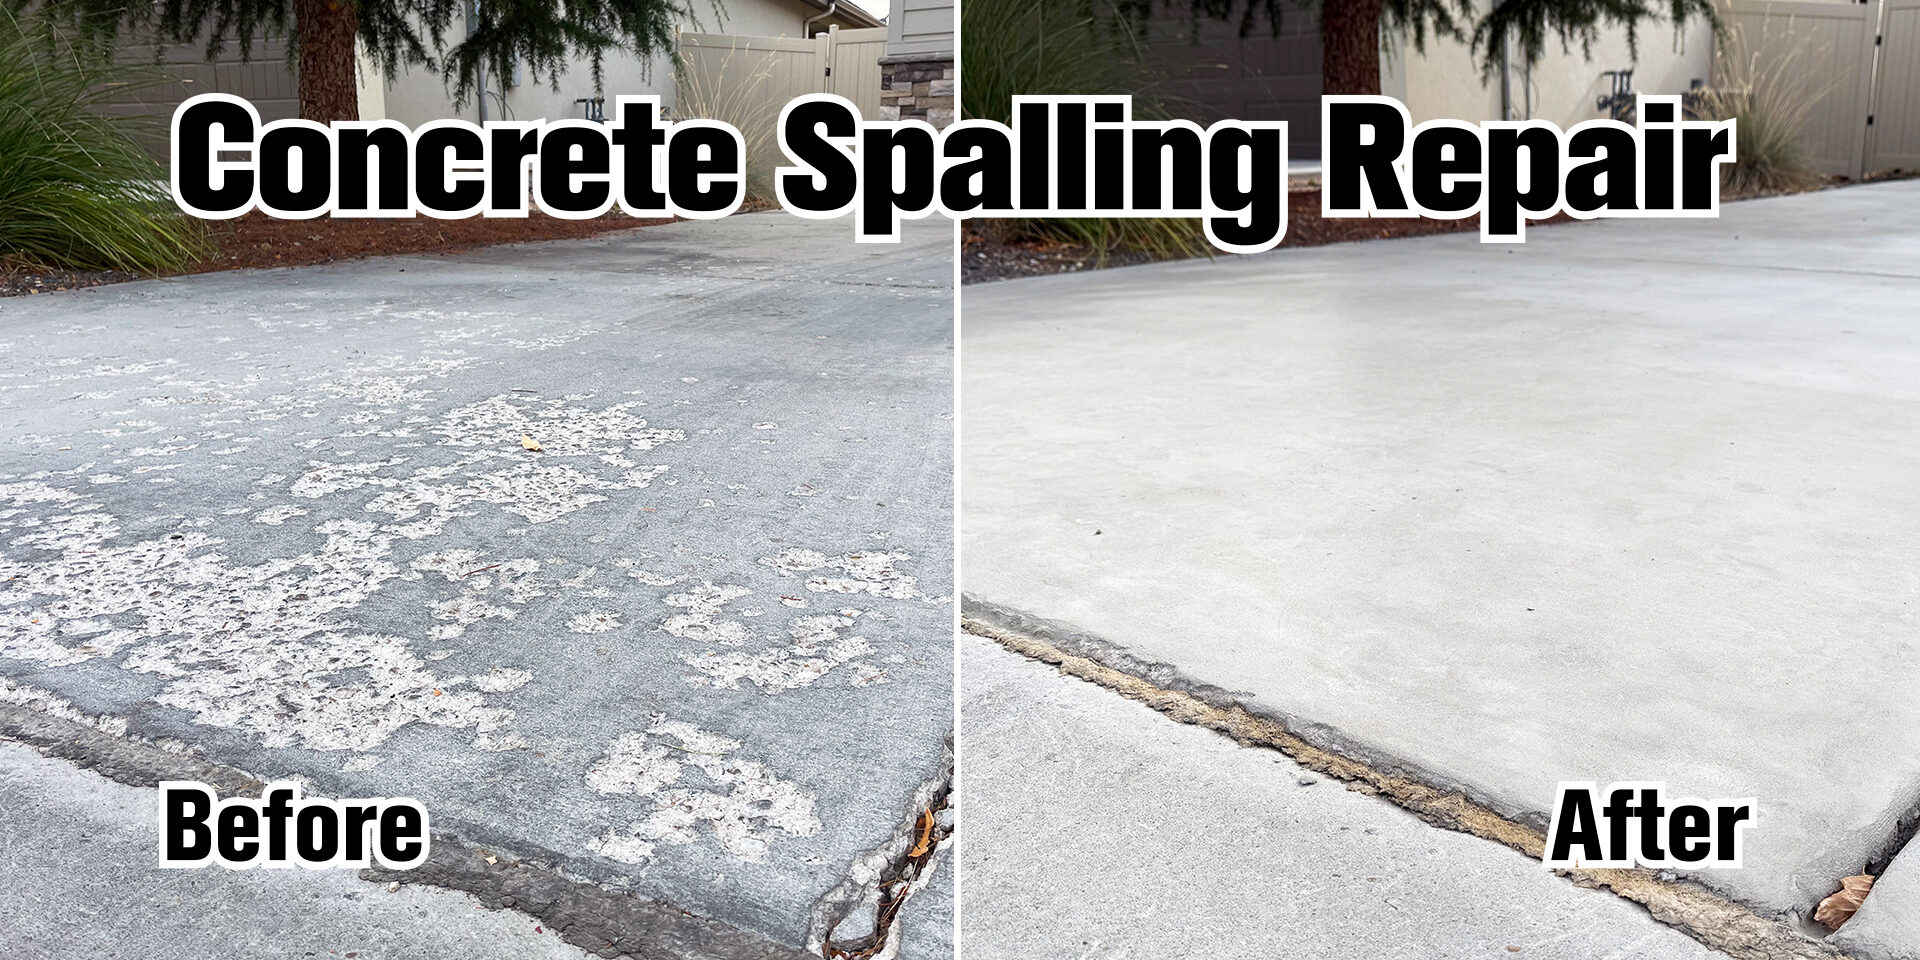
Concrete Spalling Repair
Concrete spalling repair proves easier than many people realize. I live in Treasure Valley, Idaho, where concrete spalling occurs frequently. Therefore, over the years I have developed and refined a proprietary method for repairing the concrete and sealing it effectively. As a result, the spalling stops returning. In this article, we first examine what spalling is, then explore its main causes, and finally review how to repair it and prevent future problems.
What Causes Spalling
Spalling occurs when the surface of a concrete slab chips and flakes away. This issue appears most often in northern regions of the United States. Primarily, freeze-thaw cycles cause the damage, when water enters the concrete, expands as it freezes, and then contracts as it thaws, which creates pressure that breaks the surface. Additionally, road salts from vehicles often drip onto the slab, and deicers or ice-melt products contribute to the problem. Moreover, spalling usually develops on slabs that crews poured incorrectly. For example, pouring concrete during peak summer heat or cold winter weather prevents proper curing, so weaknesses form over time and lead to spalling. I share more details about the freeze-thaw cycle in this blog post.
How To Repair Concrete Spalling
First, pressure wash the entire concrete surface thoroughly. Although an electric pressure washer works, a gas-powered unit rated at 3,200 psi or higher delivers better results. Focus especially on the spalled areas to remove all loose, chipping concrete. You must eliminate every loose piece during this step. Otherwise, the material will pop out again later. After you finish washing, rinse the driveway completely and let it dry overnight.
Next, patch the damaged spots with a cement-based quick-patch material. I prefer Quick Patch from Mapei, although many similar high-quality brands exist. Mix small batches in a two-gallon bucket, then trowel the material into the divots using a grout float. Work the patch in from several different angles so you eliminate air bubbles inside the holes. Immediately afterward, sponge the area with a damp grout sponge. In this way, you remove excess material from the surrounding surface while keeping the divots filled nearly level with the original concrete. The added moisture from sponging also helps the patch bond better and reduces cracking. Continue wiping until all patch haze has been removed from the surface. Finally, allow the repairs to dry overnight.
Sealing the Concrete
Sealing the concrete represents the most important step for long-term success. The following morning, apply a deep-penetrating sealer such as EPS (Extreme Penetrating Sealer). This product permanently waterproofs the slab so water can no longer soak in. Because water stays out, it cannot expand and contract during freeze-thaw cycles. Consequently, damage from these cycles is drastically reduced if not completely eliminated. In addition, the sealer protects the concrete from road salts and deicers.
Apply the sealer with a pump sprayer fitted with a fan tip. Work across the surface in a steady, typewriter-style pattern, side to side, while always maintaining a wet edge. Continue until the entire slab becomes fully saturated. After about 30 minutes, wipe up any excess sealer with an old towel or dry mop. This final step prevents discoloration from any sealant that hasn’t soaked in.
Conclusion
I have used this process successfully for many customers in my area, and it delivers reliable, professional results. By following these steps, you can repair your concrete and waterproof it so spalling problems end. For a clear visual demonstration, watch the video tutorial below. It shows each part of the process and helps you understand exactly how to complete the work.